Unity: Easy Assets Localize
 The package for easy localization of assets in Unity3d.
1. Setup
Select from the top menu: Window -> Localization Storage.


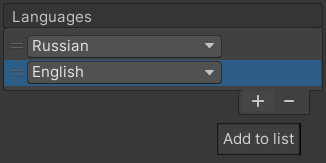
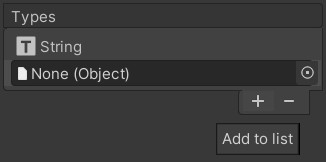

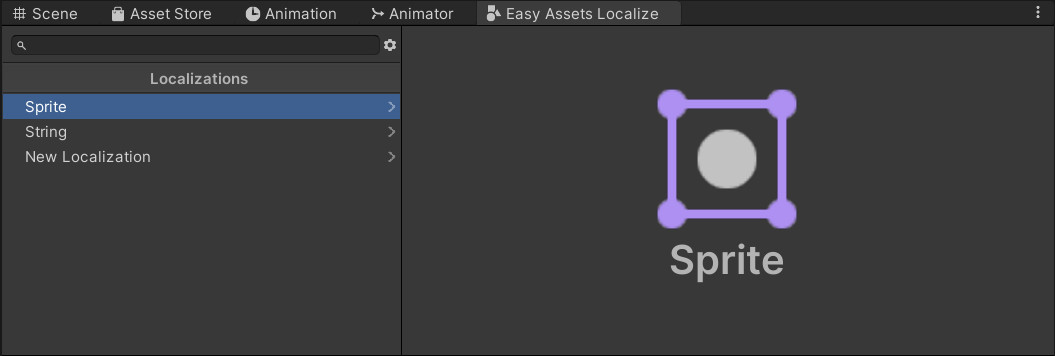
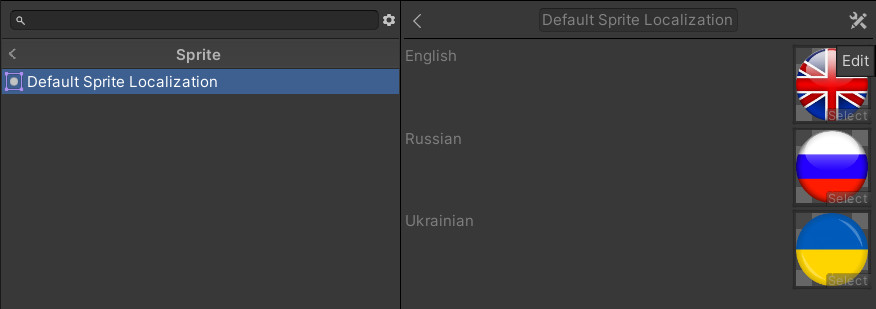
You can edit the default localization by selecting it and clicking on the tools icon in the upper right corner of the localization window.
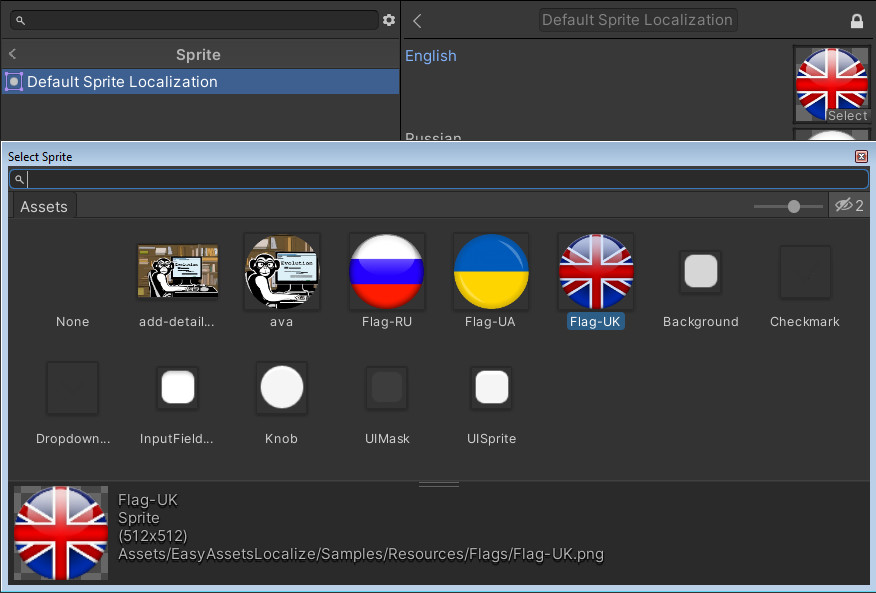
2. Applying localization to an object
Select the object that needs localization.
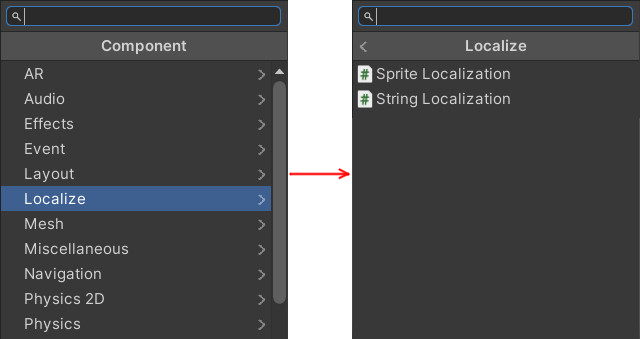
Add a resource localization component to it: Add component -> Localize -> [Resource type]Localization.
3. Change localization
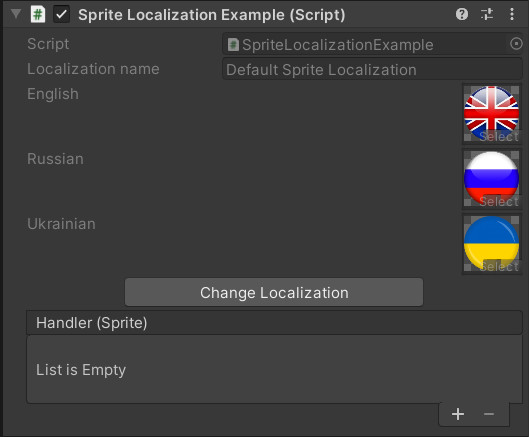
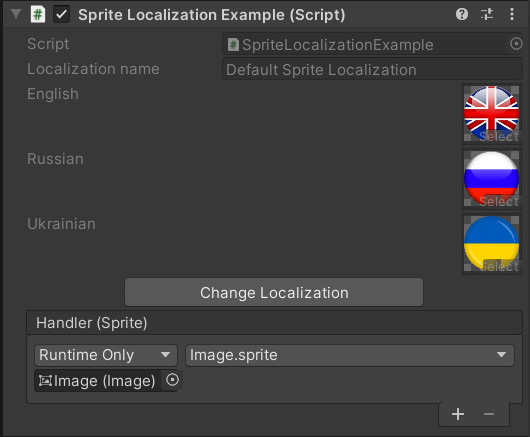
You can change the localization directly on the object. To do this, click the Change Localization button in the inspector window of the localization component.
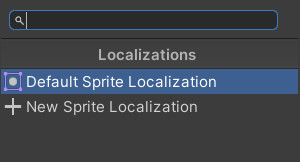
The new localization will link to the same resources as the standard one. They can be changed directly on the component.
Attention! When editing a localization used by several objects, the changes will affect all objects using an instance of this localization.
4. Managing localizations in Runtime
To control localization in Runtime, you need to add the LocalizationController component to the stage.
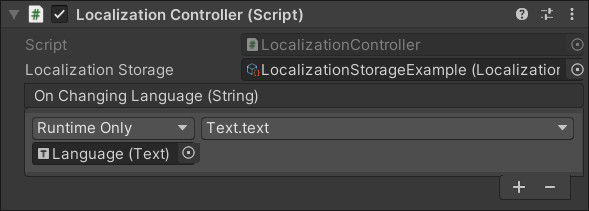
Scriptable Object of type LocalizationStorage must be added to the Localization Storage field.
In the On Chage Language event field you can add a handler that receives a string with the name of the language.
To interact with an object of type LocalizationController in code, you can use the following methods:
| Method | Description |
|---|---|
| GetInstance | The static method that creates or returns a ready-made instance from the scene. Accepts a dontDestroy argument which allows you to save the object instance when changing scenes. Returns an instance of LocalizationController. |
| Subscribe | Allows an instance of a LocalizationComponent derived type, passed as an argument, to subscribe to localization changes. |
| Unsubscribe | Allows an instance of a LocalizationComponent derived type, passed as an argument, to subscribe to localization changes. |
| SetNextLanguage | Changes the language to the next one in the localization list. |
| SetPrevLanguage | Changes the language to the previous one in the localization list. |
| SetLanguage | Sets the current language and loads localized resources. Takes an object of type Language as an argument |
If you have any questions or suggestions, do not hesitate to send them to the email indicated on the Contacts page!